Tuesday 26 March 2019

Guilford Courthouse 1781. Game at NBHW

A couple of weeks ago on Friday 15th and Saturday 16th March we refought the Battle of Guilford Courthouse during the American War of Independence, 238 years on from the actual date.
The figures were 28mm and the rules, our club's regular set of AWI rules that came from somewhere the distant past.

For those who don't know the battle the Continentals under Greene are deployed in three lines with militia forming the majority of the forward two lines and his core continental army units forming the third. The first two lines are sited at the edge and within woodlands while the third await on the crest of a hill. His plan, to delay the British and inflict as many casualties as possible without sacrificing his best trained troops.
The British, under Cornwallis, were aiming to push on and destroy Greene's forces after successes at earlier encounters.

From Wikipedia

View from the British rear.

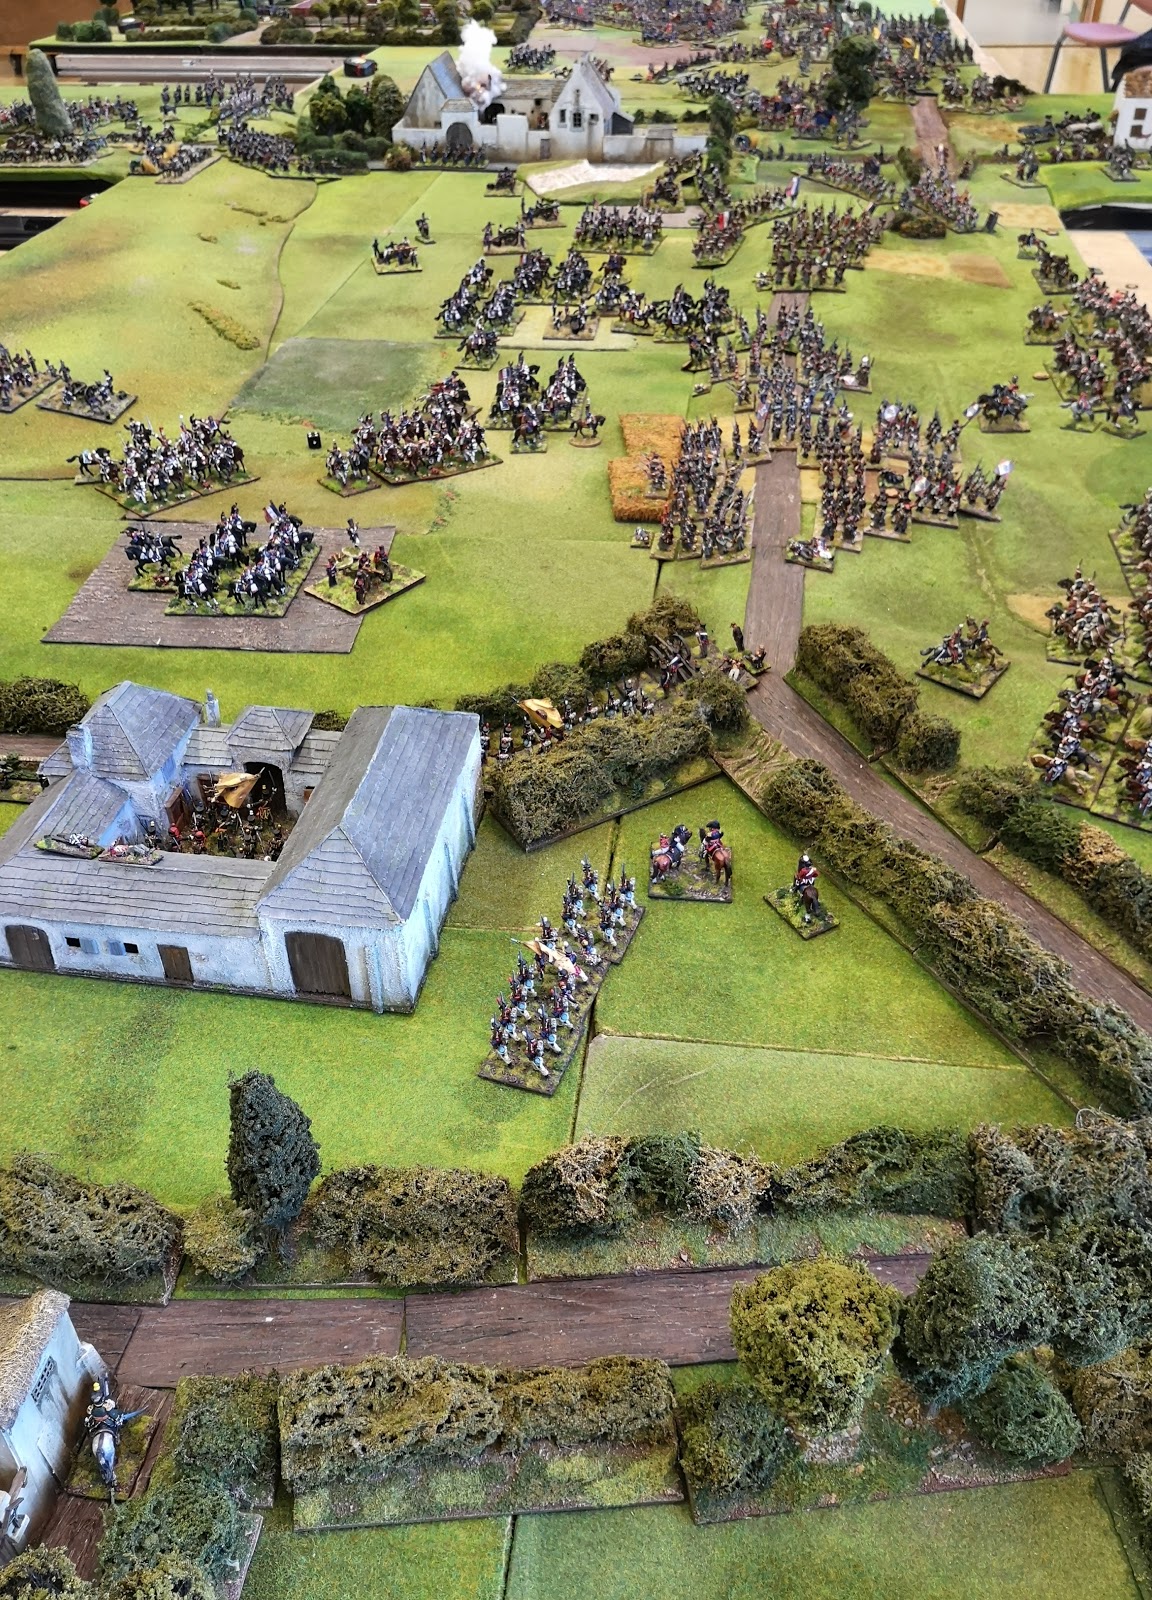
The long view, first line engaged.
Continental regulars in the distance

I was given command of the British artillery and Tarleton's loyalist dragoons. The artillery rolled up the road supporting the advancing infantry and occasionally engaging in a bit of counter battery fire.
Tarleton's dragoons were ordered to support the left as Washington's dragoons had been seen loitering behind the american rifles on that flank.

I'm sure the militia should have run away by now, oh look the rifles have.

That's better, off they go. Keep after them!

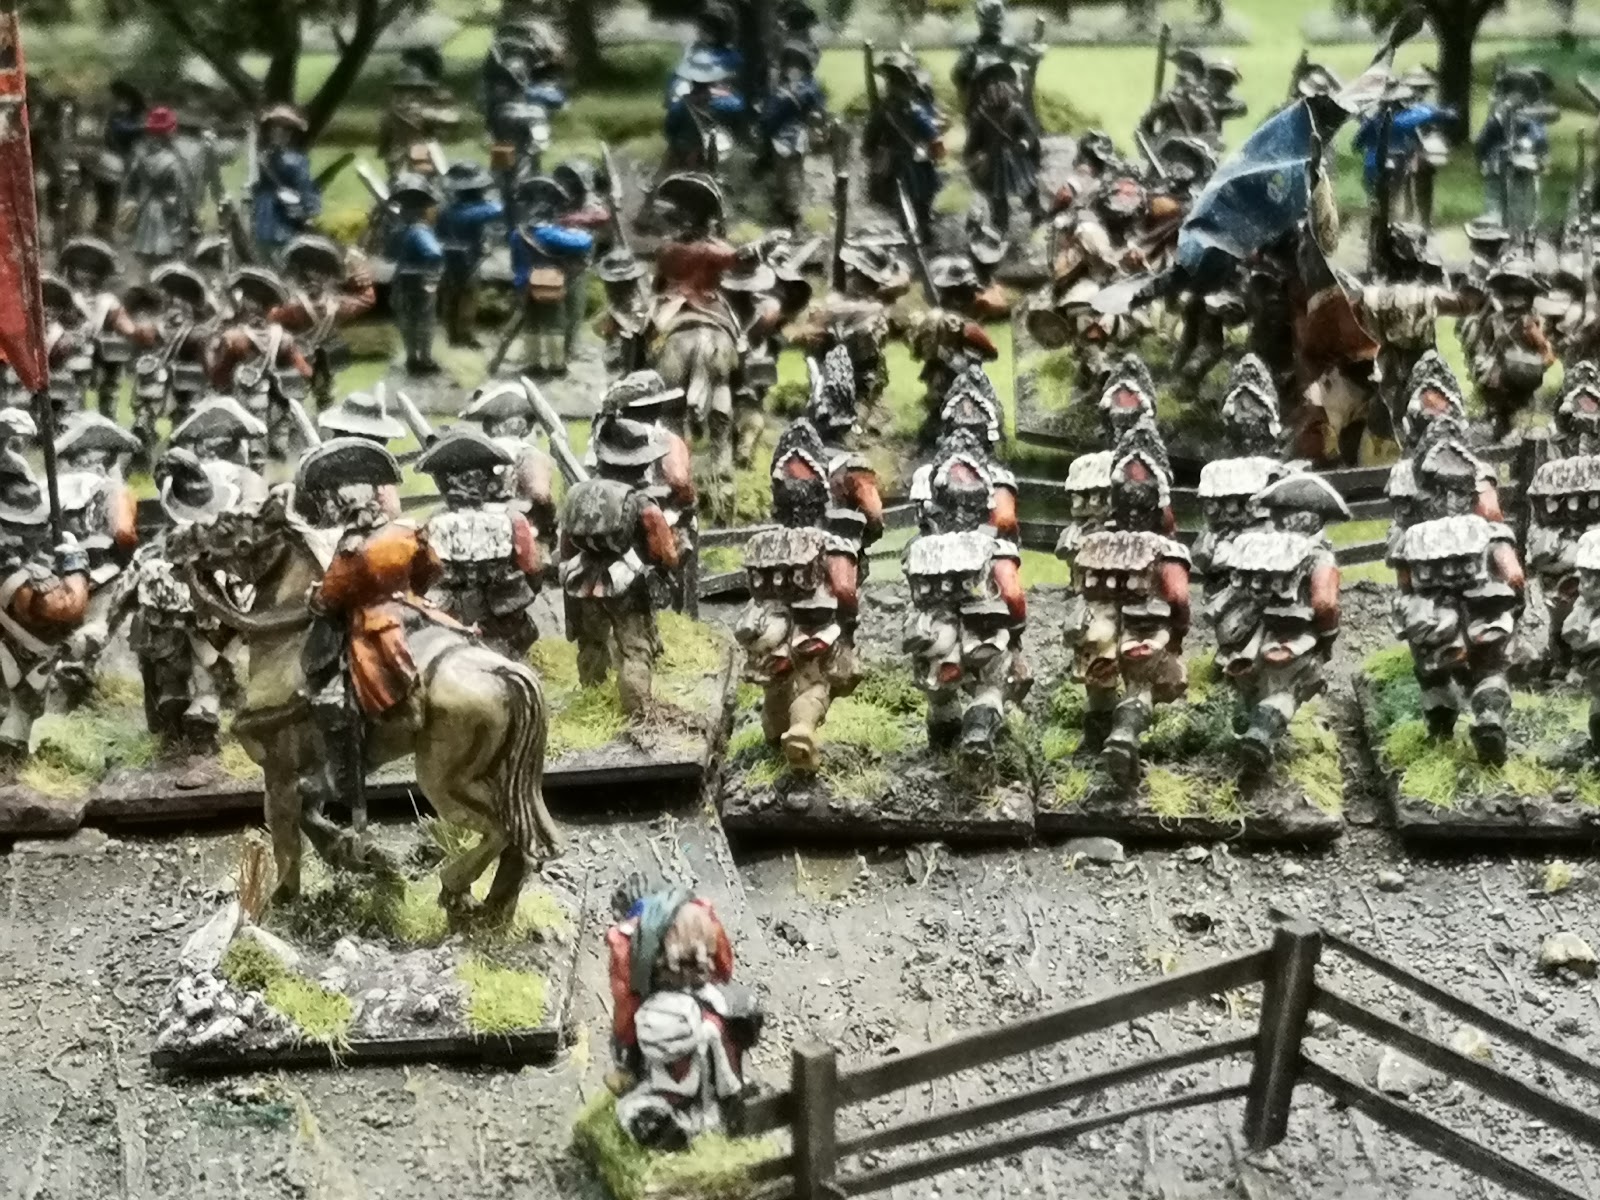
Combined Guards battalion in support.

By end of play on the Friday night the American right flank was in disarray with only one small unit of continental regulars still in action against Hessian Jagers. The rest of the forward line had routed and taken one unit from the second line with it. On the British right the Americans were proving more stubborn, even those who routed when their colleagues on the other flank did were soon rallied.
This flank would prove troublesome throughout the whole battle.

The battle resumed the next day with the British continuing to press along the whole front. It wasn't long before I managed to destroy both of the american guns in their forward lines, for the lose of one of my three. My artillery then continued along the road through the woods assisting with the infantry advances to both sides.

Tarleton meanwhile found Washingtons dragoons in the open to his front and eventually both sides managed to charge, there was a general reluctance from the cavalry of both sides throughout.

Charge! eventually


Victory for Tarleton although he was unhorsed during the action.

After some tough fighting the second line of Americans on the British left were forced out of the woods when a few units turned and rallied under the watchful eyes of their regular troops on the hill, others continued to flee from the field.

On the British right things were still slow going with Lee's legion putting up a stubborn resistance, their dragoons even managing to get into the British rear to then threaten the supporting Guards battalion. The guards being the guards merely about faced their rear rank occasionally to let off a volley to deter these horsemen.

Americans forced out of the woods on the British left.
Americans attempt to form a rally line.

View from behind the Continental regulars

Rumour has it this was the militia commander from Friday night.

Tarleton, now re-horsed managed another charge, seeing off the opposing horsemen once and for all whilst receiving "a mere flesh wound" for his troubles. At this point a unit of Americans surrendered and were marched off into captivity.

Prison hulk for you lads.

With the British now finally shaking themselves out into order again, after the confusion of the fighting in the woods, and contemplating the final assault up the hill we ran out of time.

Final positions. Lee's dragoons sandwiched in the trees between the Guards and Jagers

So pretty much like in the historical encounter the battlefield would belong to the British as Greene withdraws his precious Continental regulars but also like the real battle the British paid a heavy price for their "victory"

Another great two session game. For a more balanced AAR and a load more photographs see the clubs Facebook album here.

Tony.


Seven Year War. Game at NBHW

Back on the first of March I took part in a Seven Years War game at New Buckenham. We were using a simplified version of the Honours of War rules by Osprey, the second outing for these rules and a further test to check their suitability for our Minden refight later this year.

The scenario featured a Prussian force trying to force a Reich Army rearguard off a ridge line to continue their pursuit.

I had command of the right wing of the Prussian forces with a small village on my left and a narrow stream to my front right. Being Prussians we advanced in nice dressed lines to close with the enemy, who chose to advance as well rather than wait on the ridge.


By the end of the game I had driven off the left flank of the Reich Army rearguard but their right flank was having better luck against our left wing, enabling them to begin to conduct an orderly withdrawal.


Situation at end of game.

A great little game put on at short notice.

More photos in the club's Facebook album here

Tony.

Friday 1 March 2019

Waterloo 1815. Game at NBHW

Last weekend saw our big Waterloo game make another appearance at New Buckenham. The rules used were Shako 2 and the figures were 28mm.
The setup started early on Friday morning with the game proper starting at 7pm. We continued playing all day Saturday and Sunday until 2pm by which time we had completed 18 turns and got to 10pm game time.

My command consisted of:

I British Infantry Corps - 1st British Division:
1st Brigade -  2/1st and 3/1st Foot Guards
2nd Brigade - 2/2nd and 2/3rd Foot Guards.
Attached Artillery.

II British Infantry Corps - 2nd British Division:
3rd British Brigade - 1/52nd, 1/71st, 2/95th and 3/95th Foot.
1st KGL Brigade - 1st, 2nd, 3rd and 4th Line KGL
3rd Hanoverian Brigade - Bremervorde, Osnabruck, Quackenbruck and Salzgitter Battalions.
Attached Artillery.

Apart from the Guards battalion in Hougomont my units started on the ridge line north of this famous landmark and formed the right wing of the allied army until more Dutch arrived.
Unlike in previous years, Wellington this year decided to attack to deny the French the room to manoeuvre their mass of infantry and cavalry. To that end I was ordered to oblique my whole command to the left and aim to hit and destroy Foy's division that had formed up between Hougomont and La Haye Sainte and hopefully bottle up Bachelu's division on their right side.

The French meanwhile had similar ideas at set off smartly too with Foy heading straight at my advancing troops.

To the other side of La Haye Sainte both sides also advanced and it wasn't long before battle was joined all along the line.

What followed was two and a half days of epic wargaming with the battle swinging to and fro across the front. I did manage to destroy Foy's division without losing a single battalion, but the Guards division took so much damage that they broke towards the end of the game after a failed moral check.  Bachelu was also destroyed leaving a large gap in the French line. The Light Division and KGL spent the whole game supporting first the Guards and then swung around to bolster the defence of the right flank. The Hanoverian brigade brought up the rear but towards the end found themselves supporting the Dutch on the right flank.

By game's end there were no British or Hanoverian units left east of the Brussels Road, with the Brunswick Division refusing the flank along this road supported by a few British units freed up by the destruction of Foy and Bachelu. The Dutch still clung on to Papelotte and La Haye with Prussians beginning to arrive in strength.
To the west of La Haye Sainte the field pretty much belonged to the allies despite the Old Guard being in Hougomont. Jerome's flanking attack had been bottled up by the Dutch and now British and KGL reinforcement was on it's way.
Away over to the south west the Prussians had managed to reach Plancenoit after stiff French resistance.

After deliberation the two umpires called the game a minor allied victory, thanks in no little part to a last minute morale save by the Brunswickers. All in all a fantastic and sometimes exhausting game.

Below are a few of the photo's I managed to take over the weekend.


The Tyrant himself!


My Command heading off to attack Foy.


Attempted panorama of allied right.


Where'd all the French go?

For hundreds more photographs and a fuller AAR, written by our Napoleon for the weekend, see the following Facebook albums:


Tony.