This was the third time I have run this game at the club but the first time using Shako II as the rule set, the previous two games were played using Black Powder.
The area we covered for this game was from the Spanish 5th infantry division in the northern valley, south to the join between the Spanish 3rd and 4th divisions.
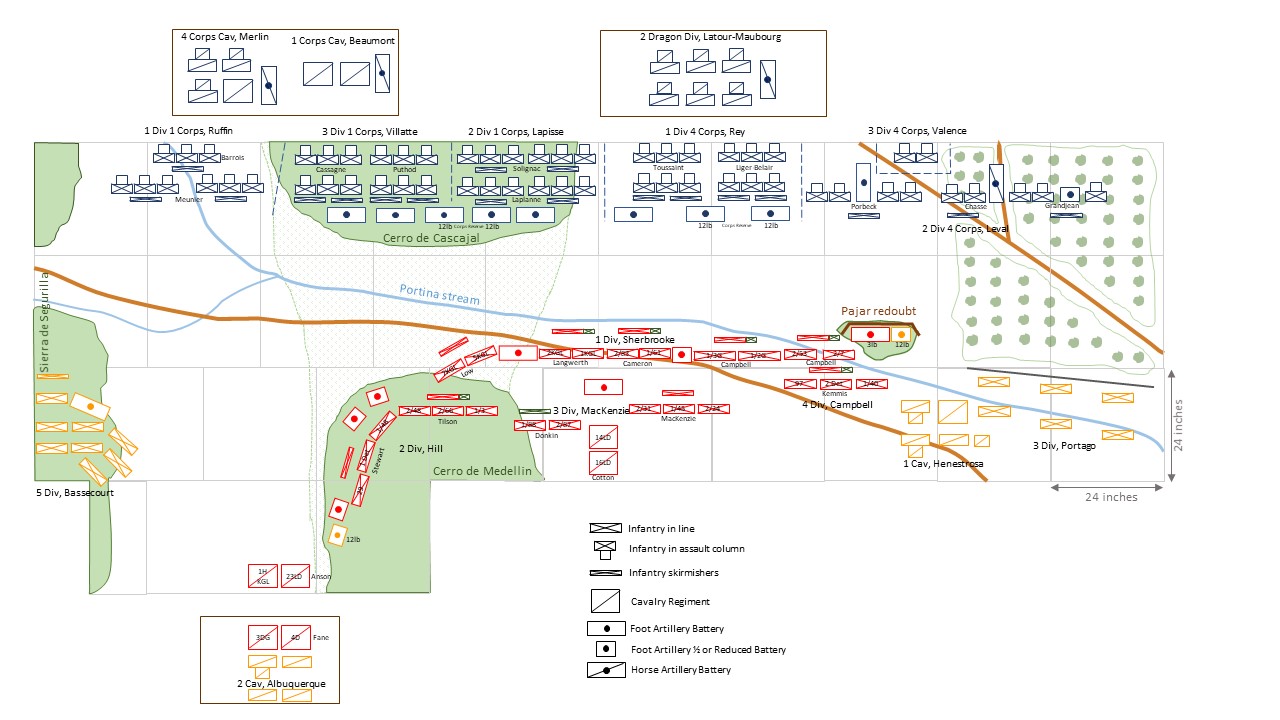 |
| Layout of the Battlefield |
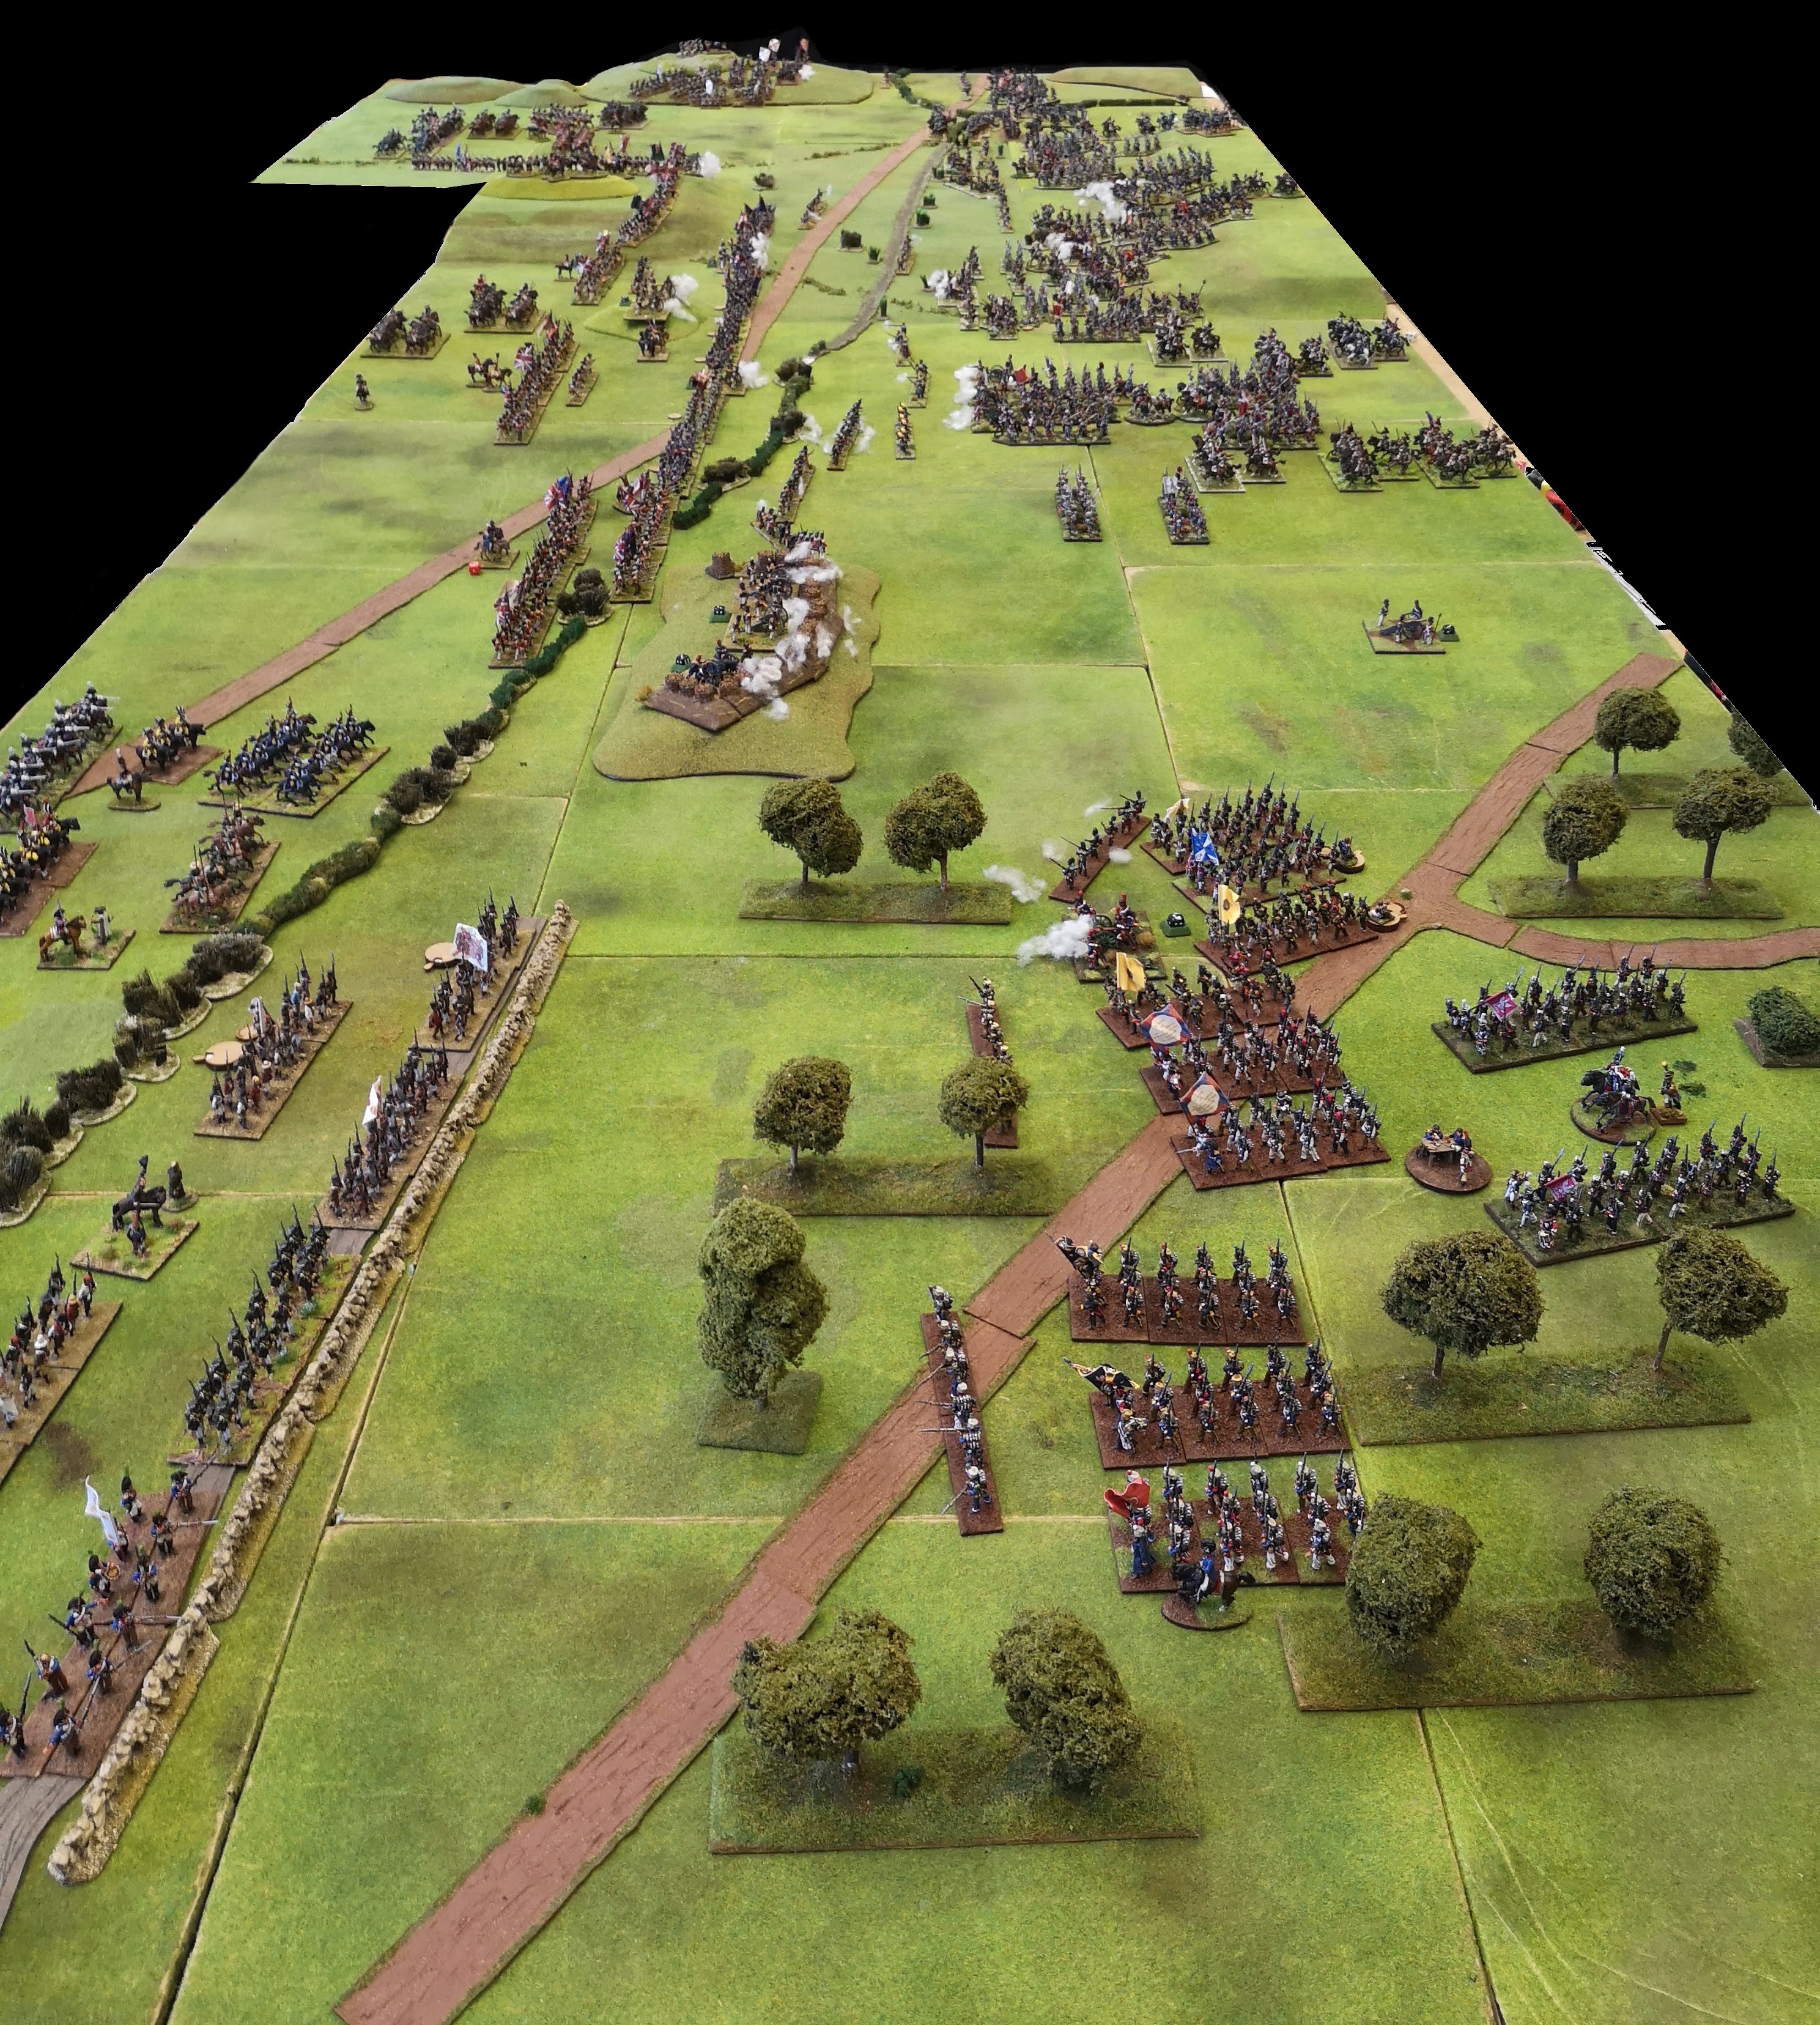
 |
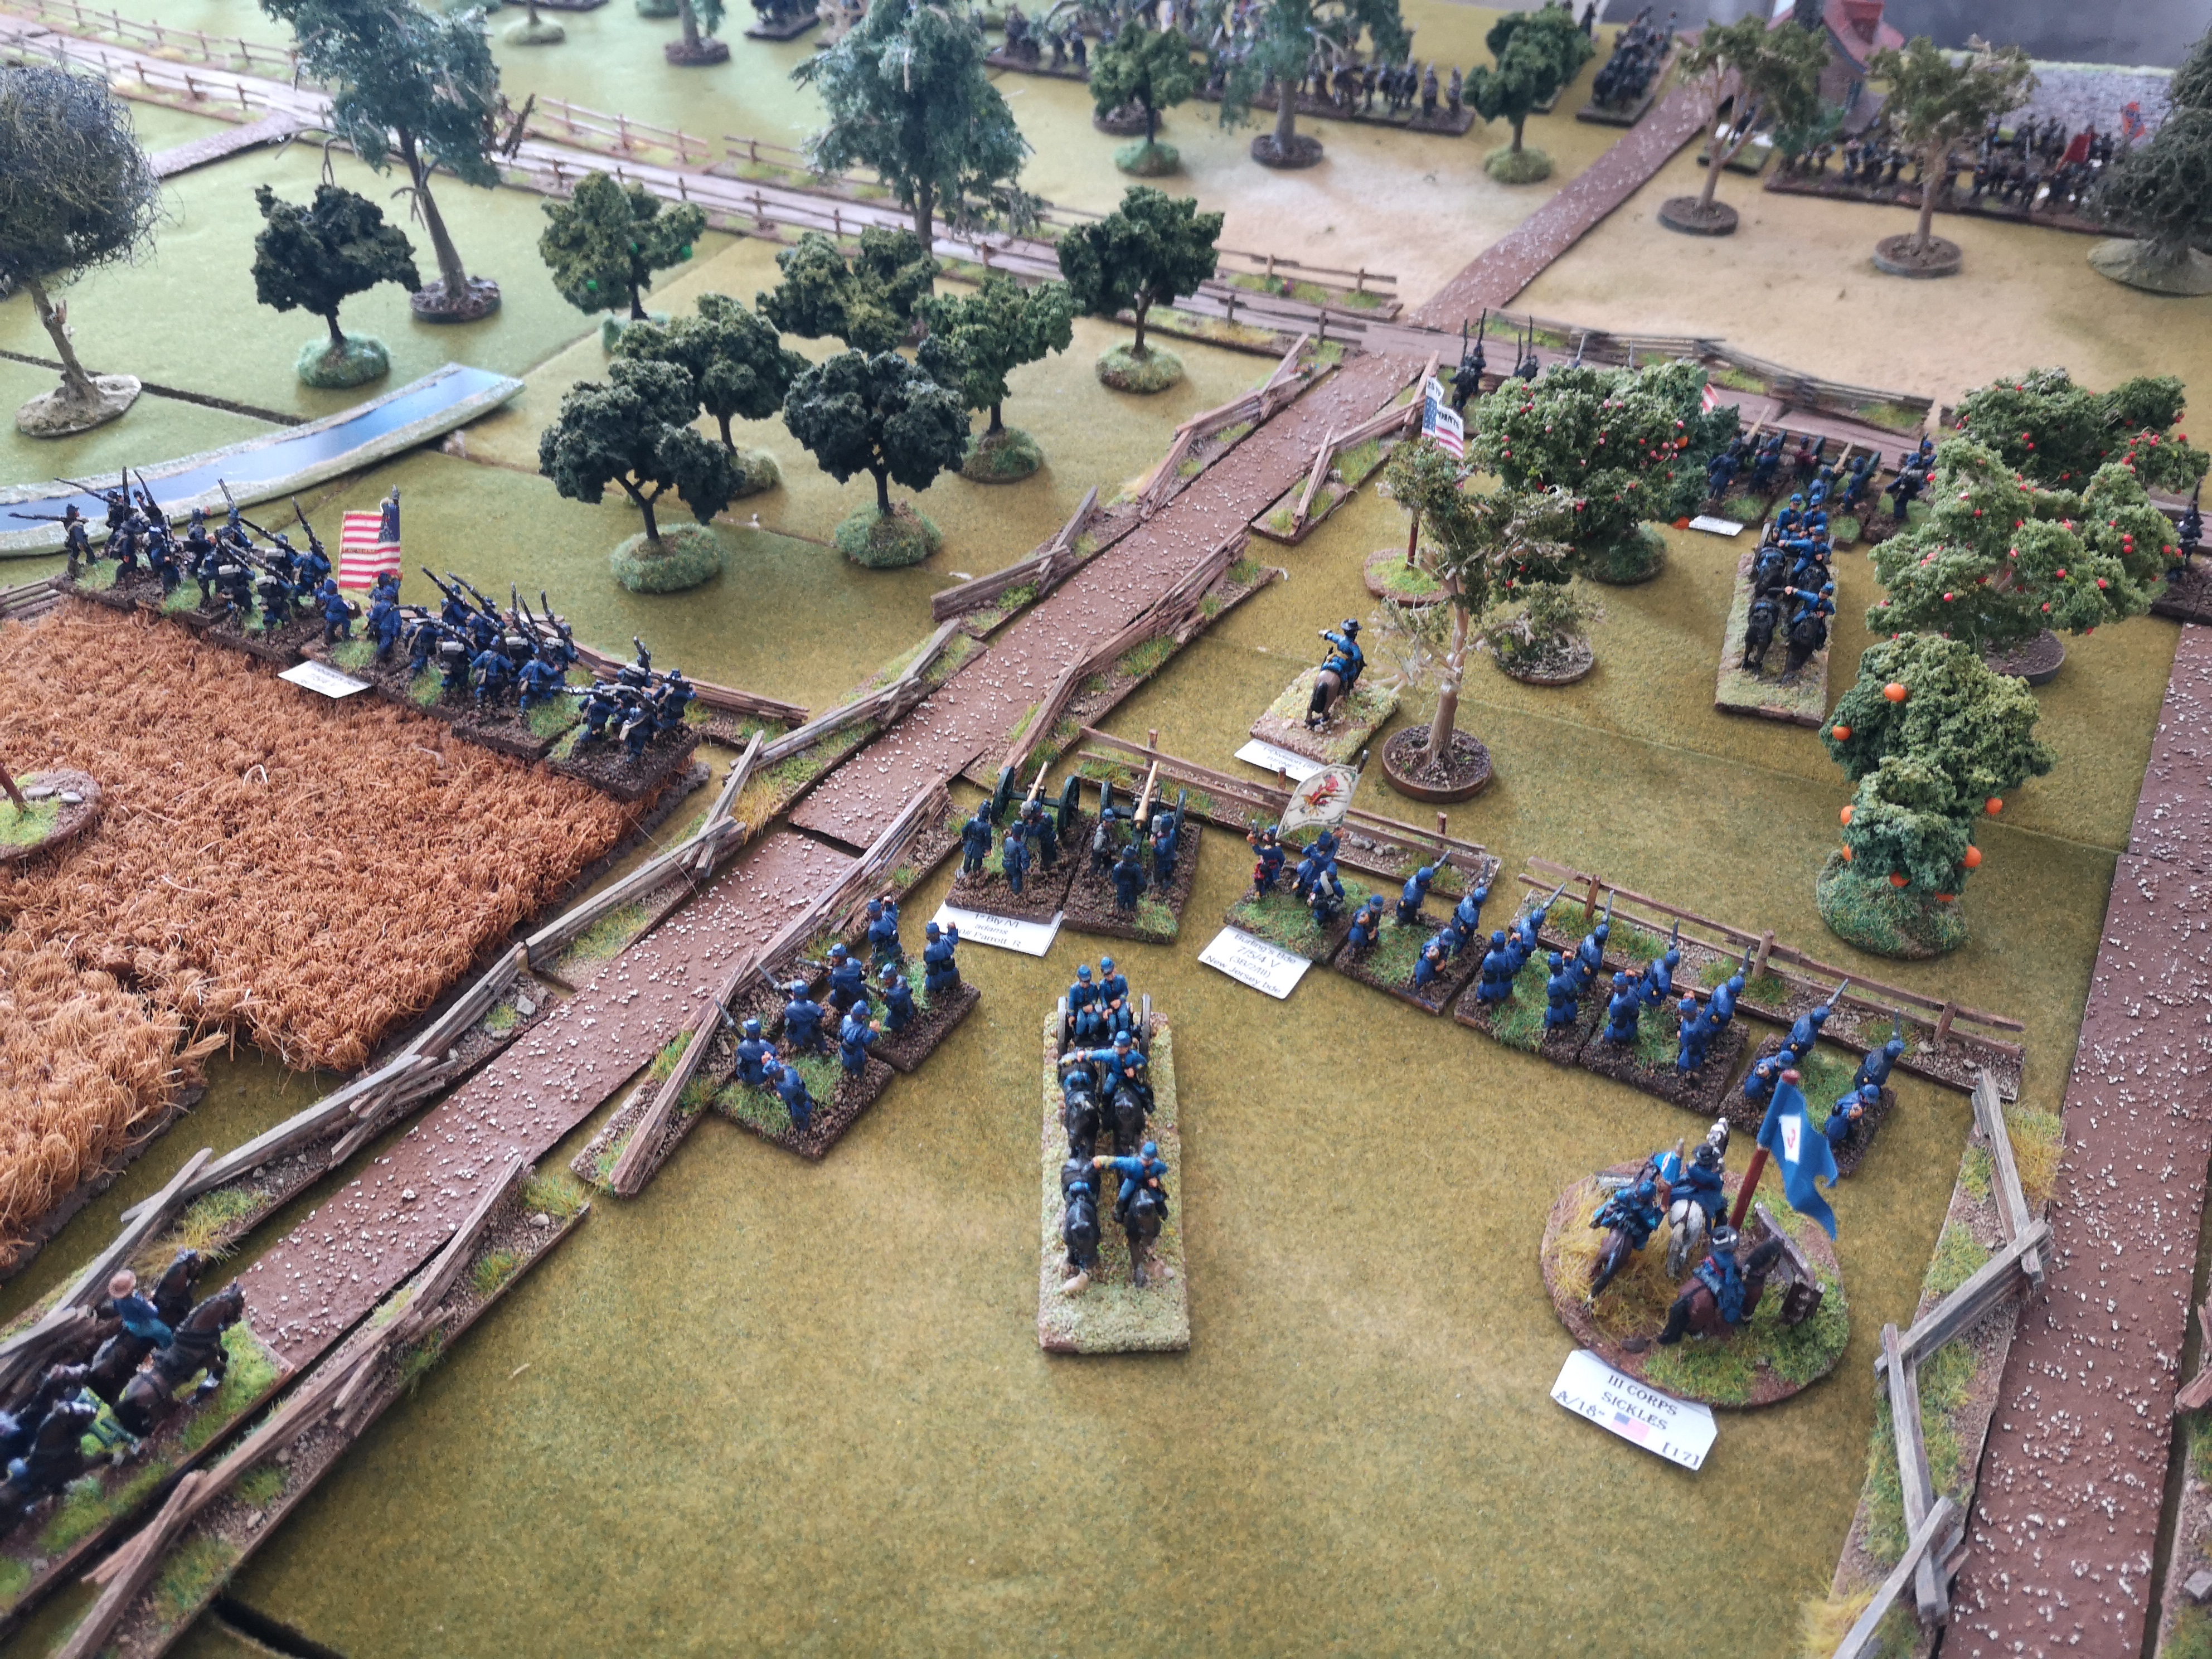
| Translated to the table (about turn four looking North) |
As we were short of Spanish cavalry, and the available OOBs vary on who was actually present, we used what figures we had with some Dutch Belgian carabineers to stand in for other units our research showed were present. Some really small units we decided to ignore.
We also decided to use two gun models to represent a battery, which significantly increased the width of not only artillery fire corridors but also the space required on the table. The British and Spanish also split a few batteries in half to cover more of their frontage so we decided to try and incorporate this into our game too, using a single gun model to represent a half battery. To represent this rule wise a half battery had it's MR reduced by 1 and suffered a -1 Fire Modifier. (This seemed to work quite well during the game. It was also applied to an under strength battery in Leval's division)
Converting the OOBs to Shako took some time with the requirement to create playable divisions, the command and morale units in Shako, out of the historical divisions present.
The British Cavalry was one issue there being three brigades split across the battlefield. I decided that the two, Anson's and Fane's, that operated to the north would be grouped into one "division" for morale purposes but would operate as separate brigades for command.
The third brigade, that of Cotton, operated as a reserve in the centre so I attached it to the 3rd Infantry Division under MacKenzie who formed the infantry reserve. His two brigades were widely deployed as well, so like the cavalry, to the north, this was a division for morale purposes only, command was by brigade.
On the French side the only decision was again to do with cavalry, this time the attached Corps' cavalry from I and IV Corps. Both these formations ended up operating at the northern end of the battlefield so in the end I combined both of IV Corps' brigades into one under Merlin and put that into a Cavalry division with I Corps' brigade under Beaumont. Like the British cavalry this "Division" was for morale purposes only and each brigade could operate separately for command.
I have attached the command sheets that I came up with.


The Portina stream that runs the length of the battlefield was almost dry on the day of battle and only really provided an obstacle where it cut through the steep valley between the Cerro de Medellin and Cerro de Cascajal towards the northern end of the field. To this end we made it a "linear obstacle" as per the rules only in this area.The valley between the Cerro de Medellin and Cerro de Cascajal itself is quite steep and consists of very broken ground. So we reduced movement to 2/3 for infantry, 1/2 for cavalry and 1/3 for artillery. In hindsight and for future games it will be impassable for heavy foot artillery. The limits of this area were marked using flock.Now to the south, the Spanish troops here were apparently deployed behind a wall and sunken lane, so -3" to cross for infantry and cavalry, impassable to artillery. To their front were olive groves with shallow boundary ditches reducing movement to 2/3 for infantry and 1/3 for cavalry and artillery.The Pajar redoubt that anchored the join between the British and Spanish positions was on a slight rise in the ground and as per the rules for field fortifications was -3" to cross for infantry and impassable to cavalry and artillery, unless from the open rear.
Combat effects of featured terrain:
Artillery fire between the Cerro de Medellin and Cerro de Cascajal would have no bounce through due to the steepness of the slopes.Units defending the tops of the hills received a +1 melee modifier.Units defending the stream banks, between the hills only, received a +1 melee modifier.The redoubt gave modifiers as per the rules for Field Fortifications in the rule book.Units defending the walls and sunken lane received a -1 To Hit modifier and a +1 Melee modifier.
The next thing to consider was anything scenario specific we wanted to implement.
Historically the afternoon part of the battle commenced at 2:00pm with a french artillery barrage for forty odd minutes and was over by around 5pm when the French withdrew. Doing a bit of research on the internet revealed that sunset near Madrid on that day would have been around 7:30pm, so the battle could have gone on until then if thing had gone differently. So with a time frame of 2:00pm to around 7:30pm and knowing roughly how many turns of Shako we can play in the time we had available we decided to set the game turns to represent twenty minutes giving a maximum of sixteen turns between 2:00pm and 7:20pm.To represent the artillery barrage the first two turns would be artillery only with no advancing movement allowed, other manoeuvring was allowed. The british would not be allowed to return fire until turn two.Historically the british infantry under this barrage went prone so we allowed the british commanders this option on turn two, making them -1 To Hit. It would take a full move for these prone units to stand up and prepare to fire, a warning that could have been better heeded by one commander.Normal game turns commenced on turn three.We decided to use the optional Divisional Commander Bonus from the rulebook that allows options when a natural six is rolled during the initiative phase. We also gave the C-in-C's two dice in the initiative phase which they could allocate to replace that of any of their divisional commanders. Prone units could only remove a Stagger with one of these bonus options.
 |
| Scenario Specific rules etc. |
A few more photographs. I actually took fewer photographs than normal as I was concentrating so much on umpiring, as this was the first time I had umpired a Shako II game.
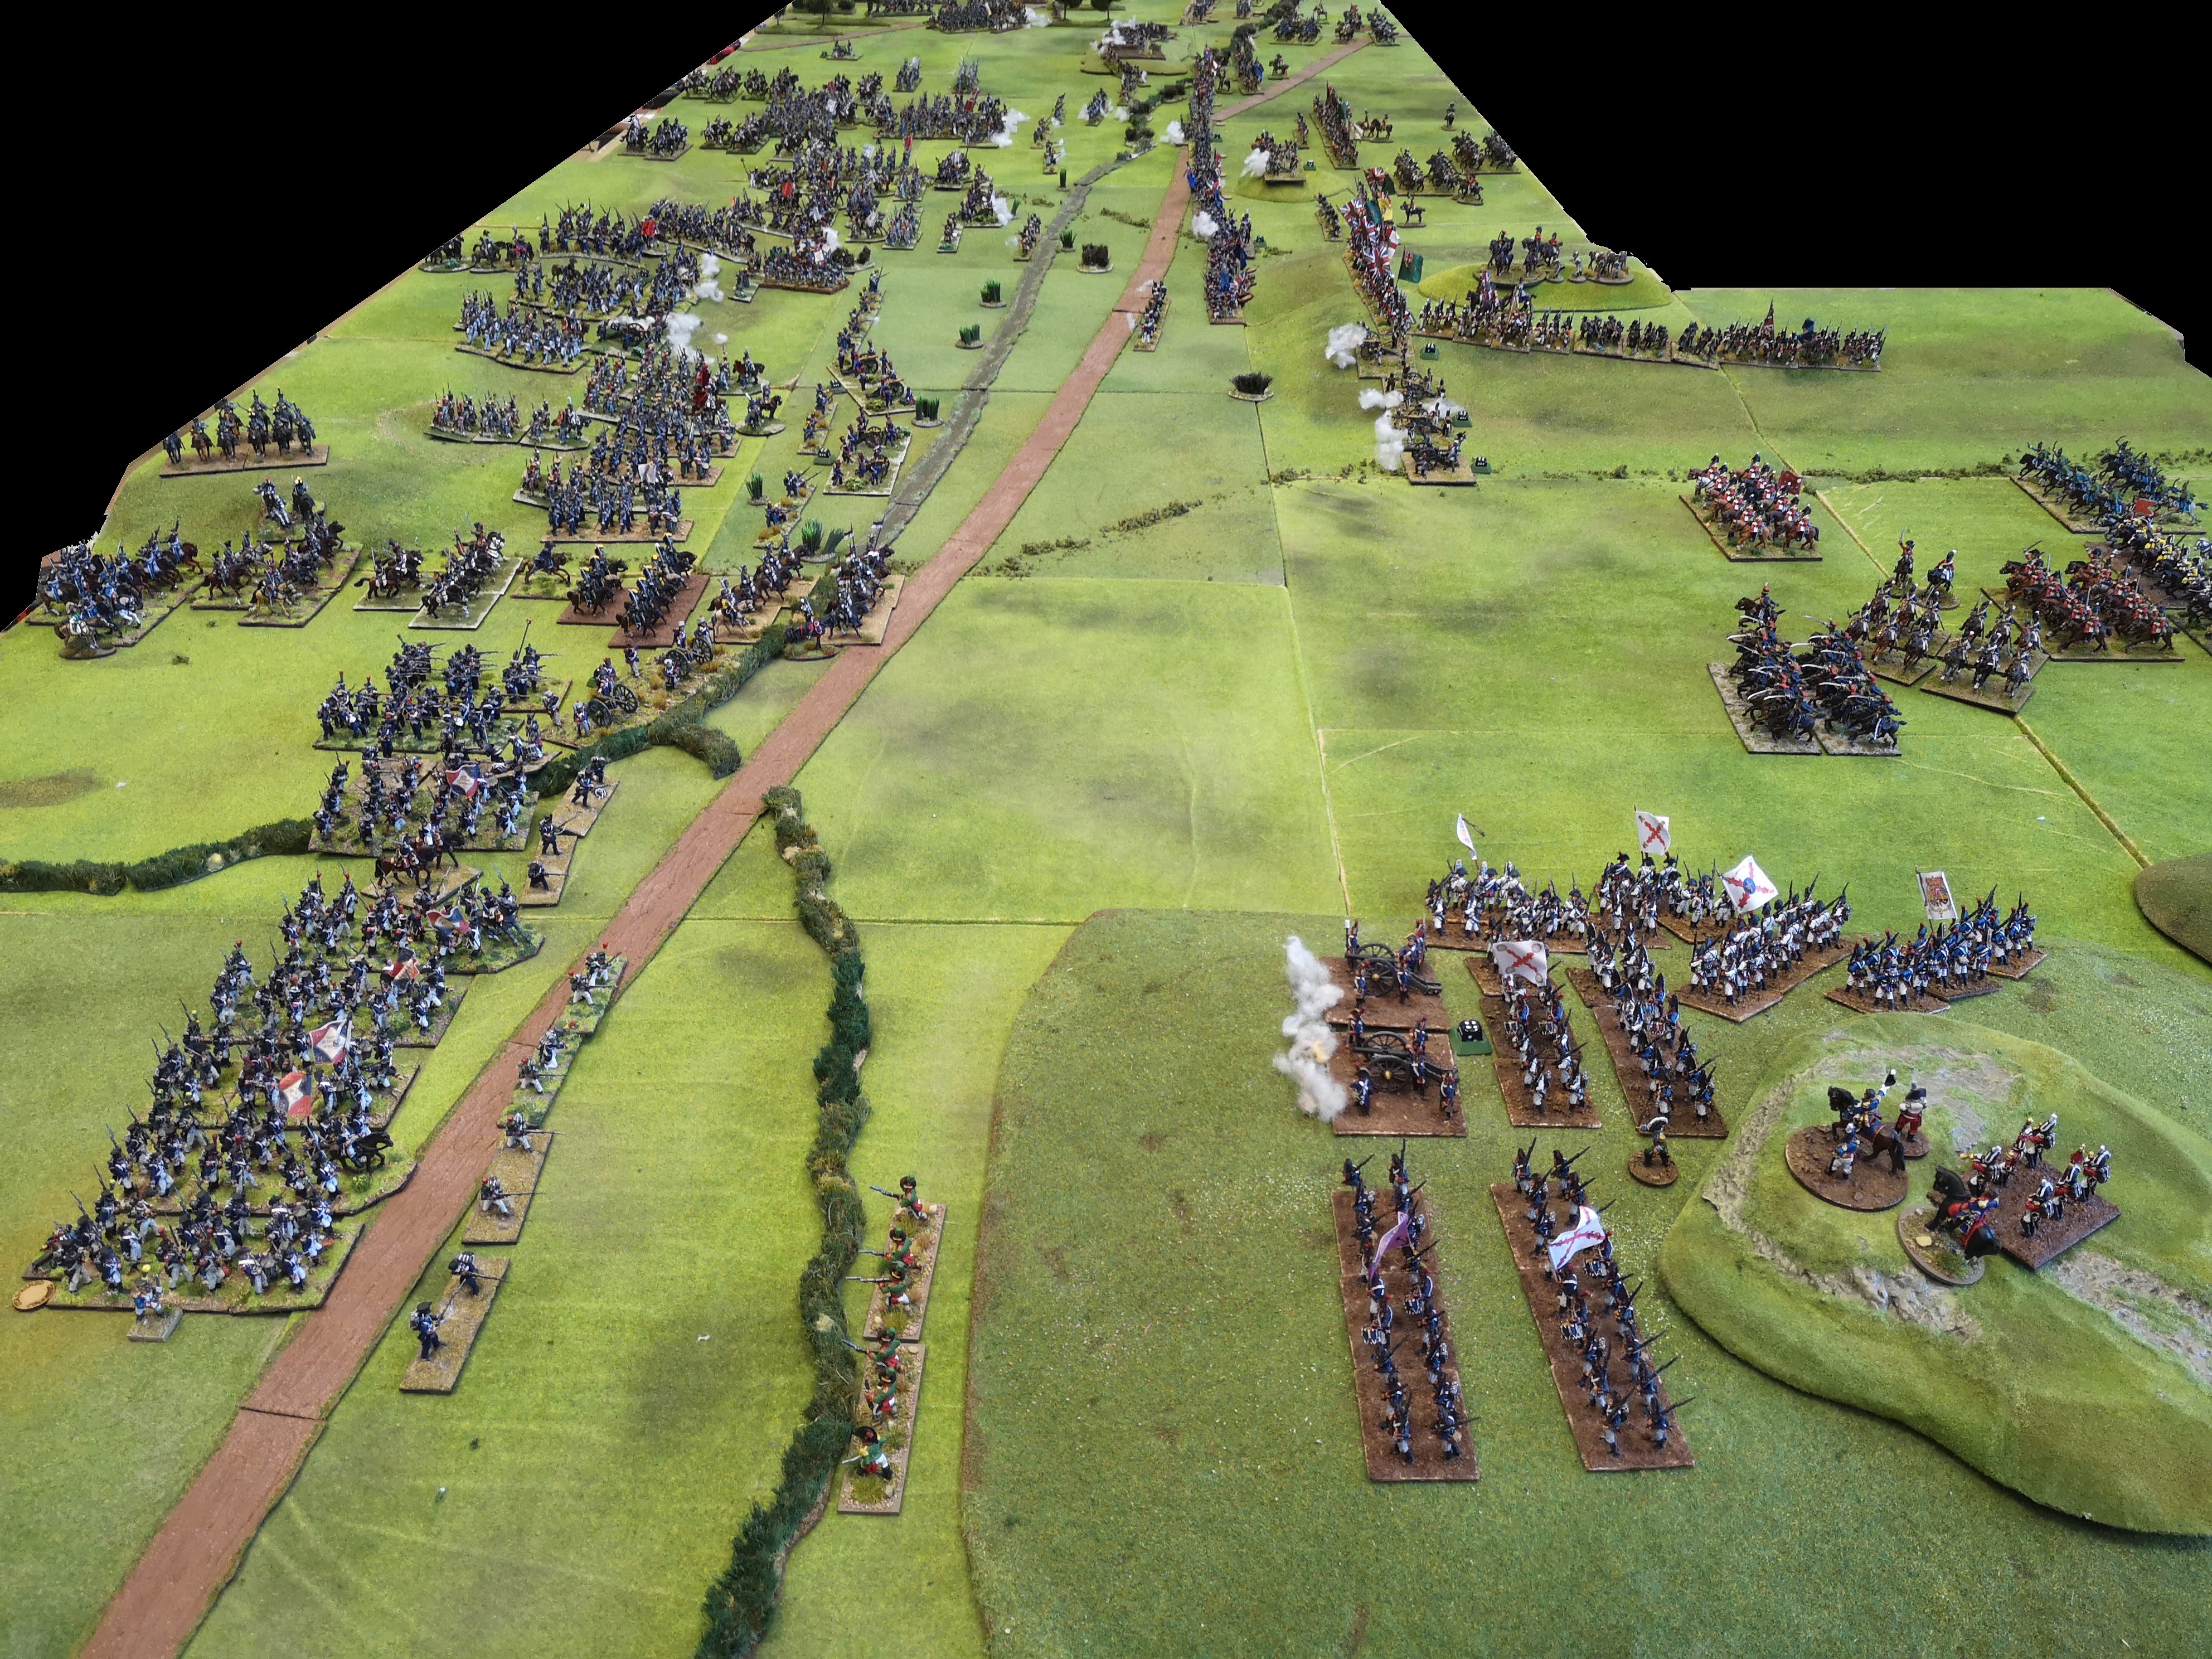
 |
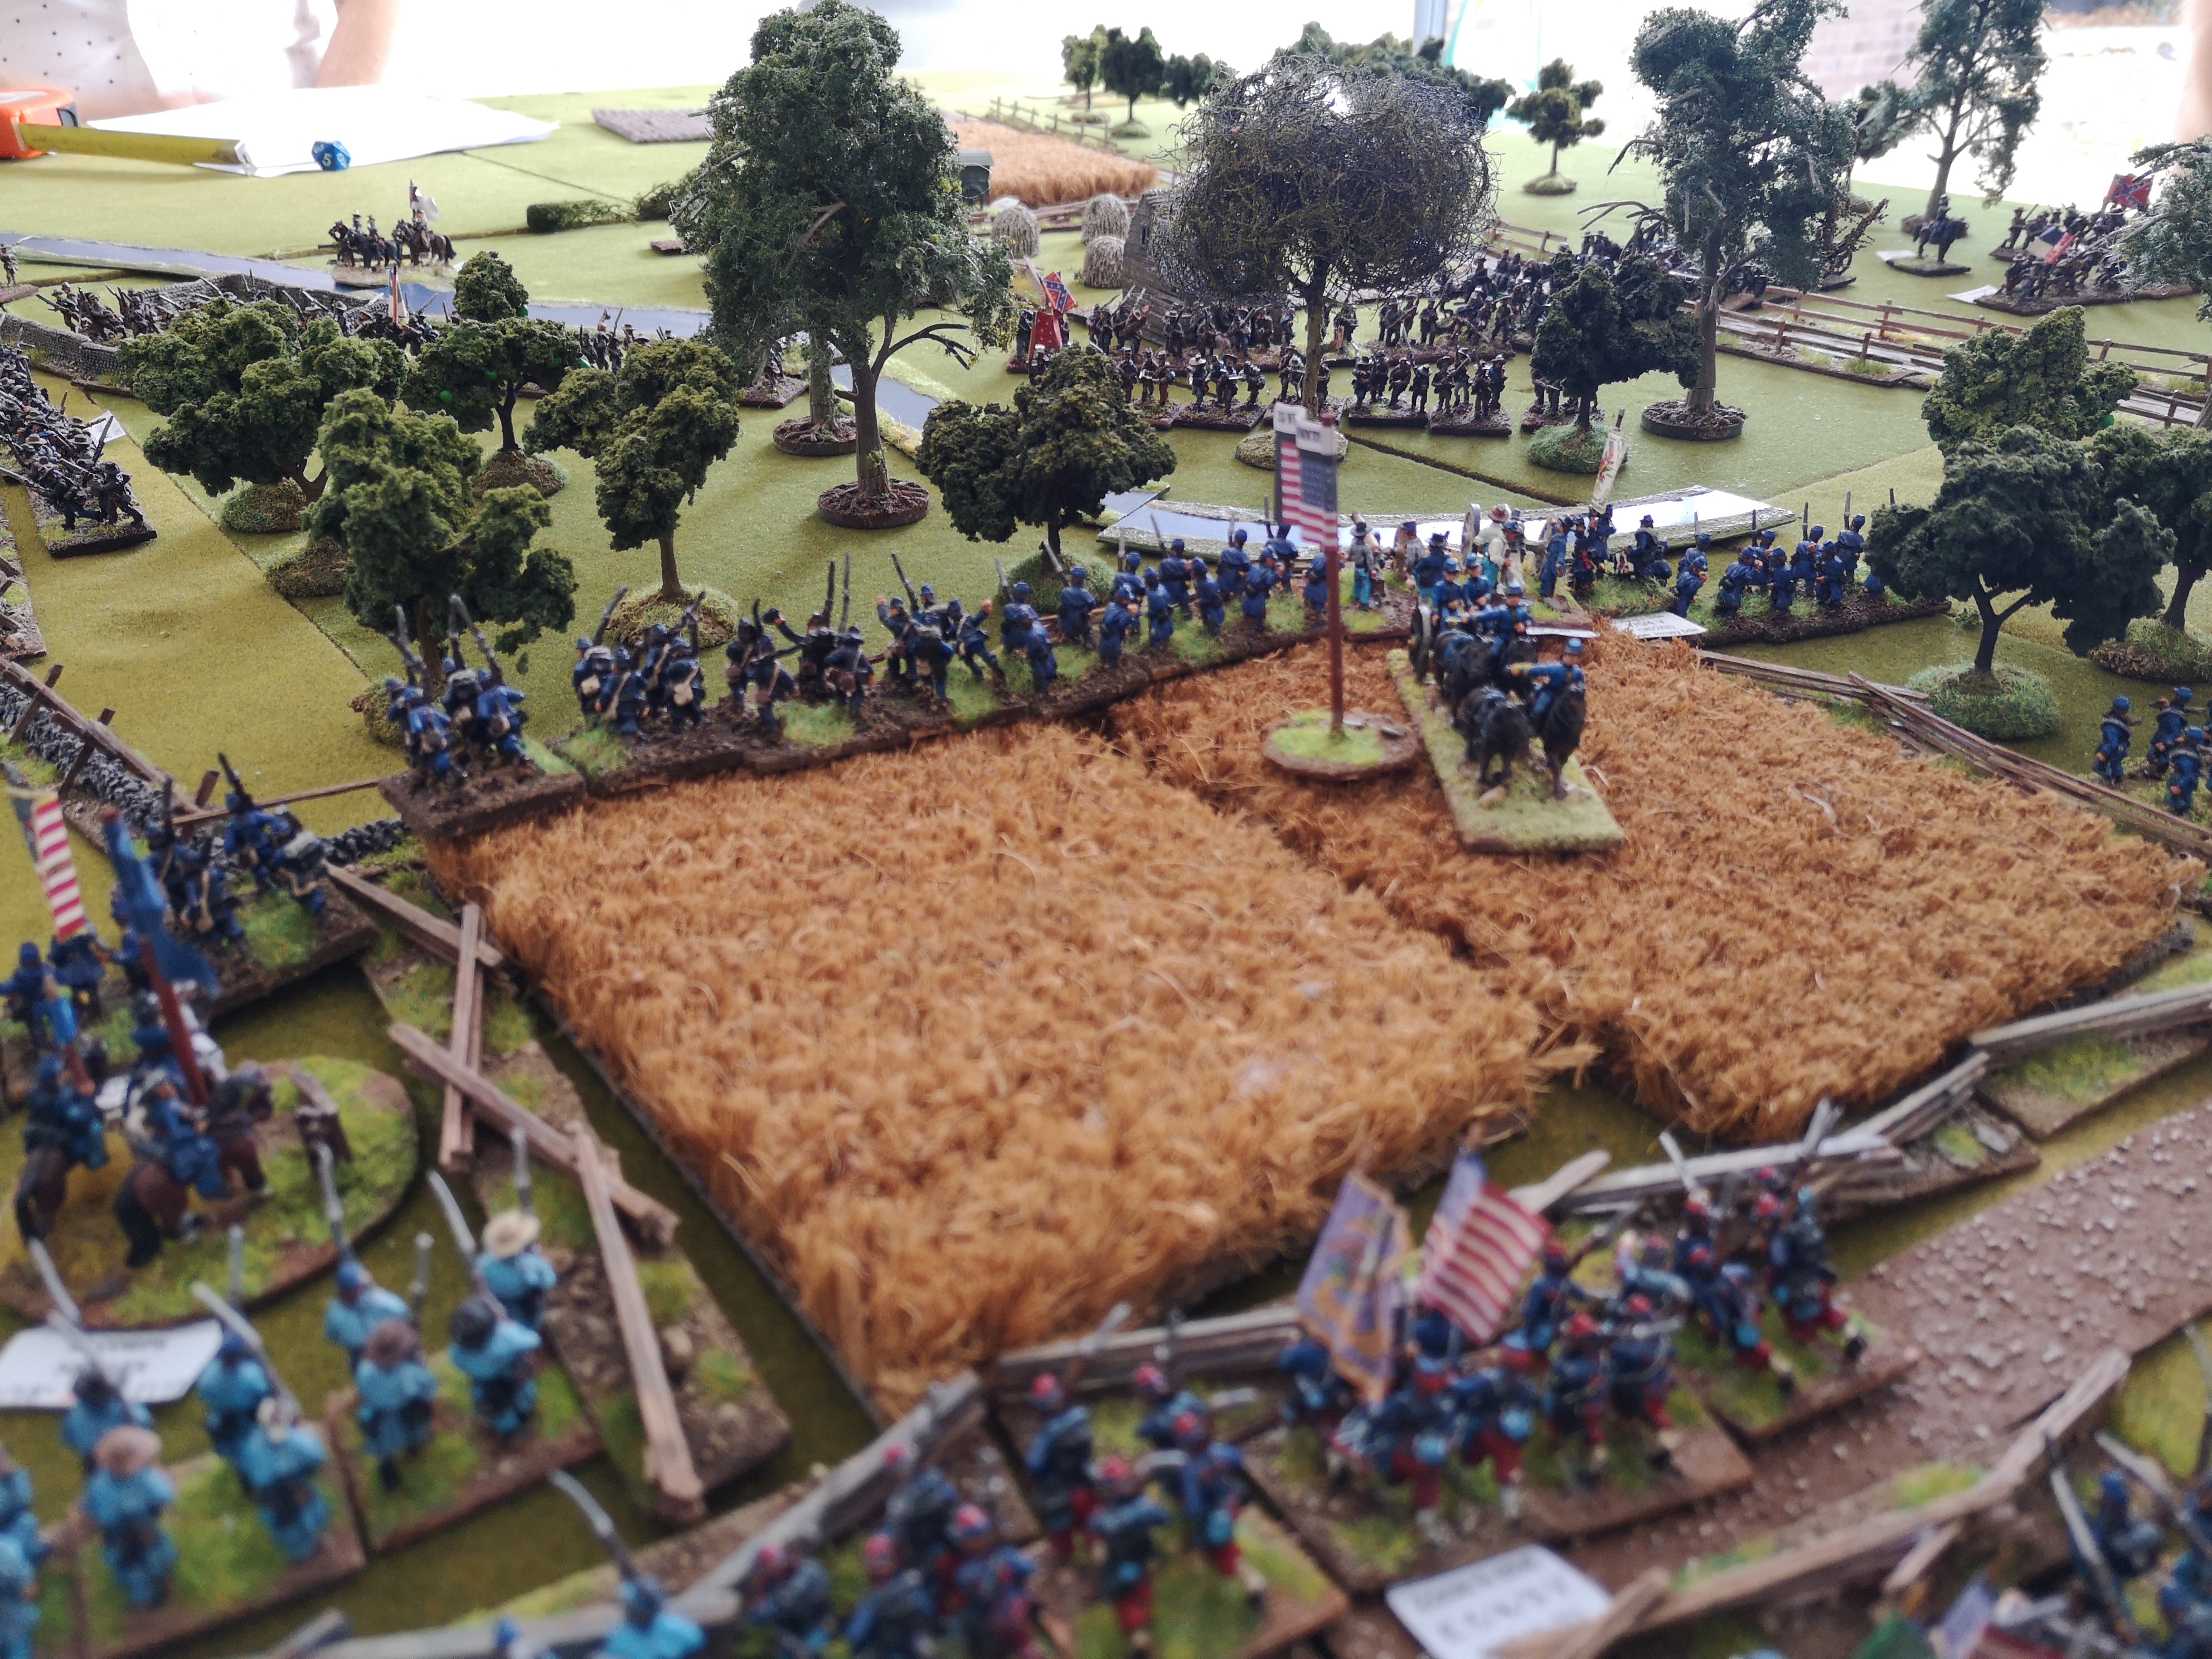
| Looking North around turn four or five. |
 |
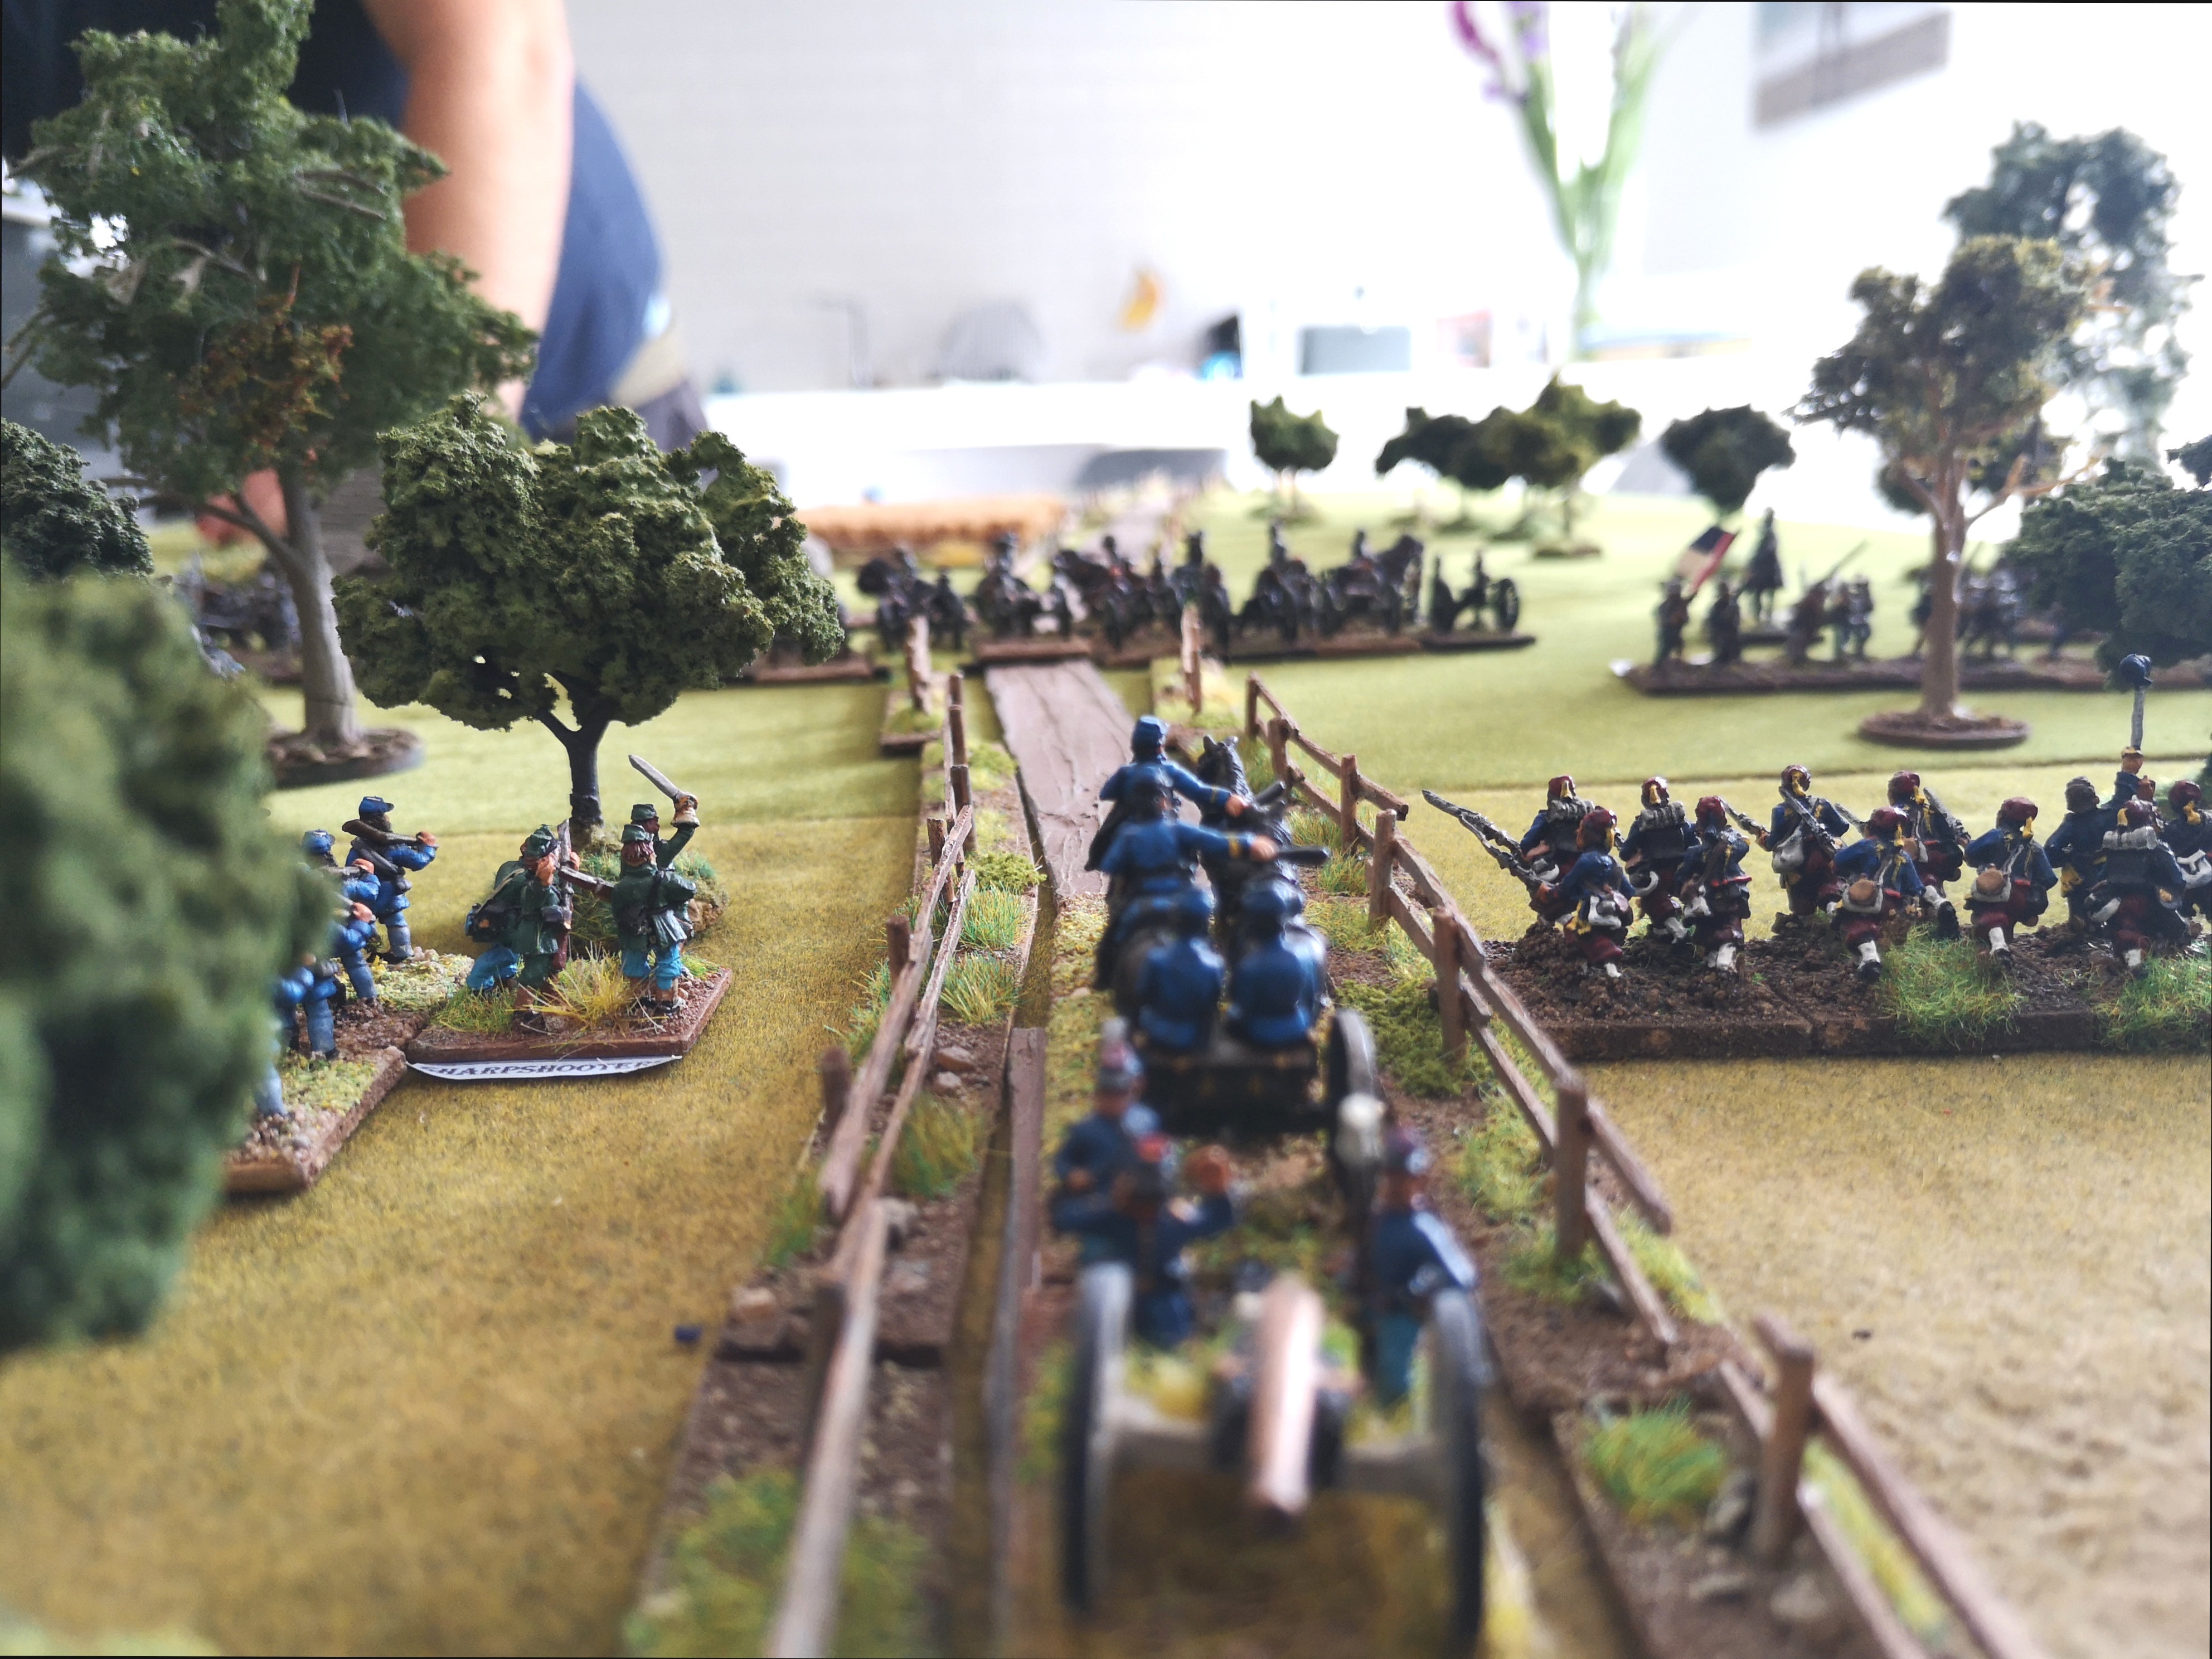
| Allied cavalry move into the northern valley |
 |
| Ruffin's French advance on Bassecourt's Spanish |
 |
| Cavalry melees in the valley while pressure mounts on the British centre. |
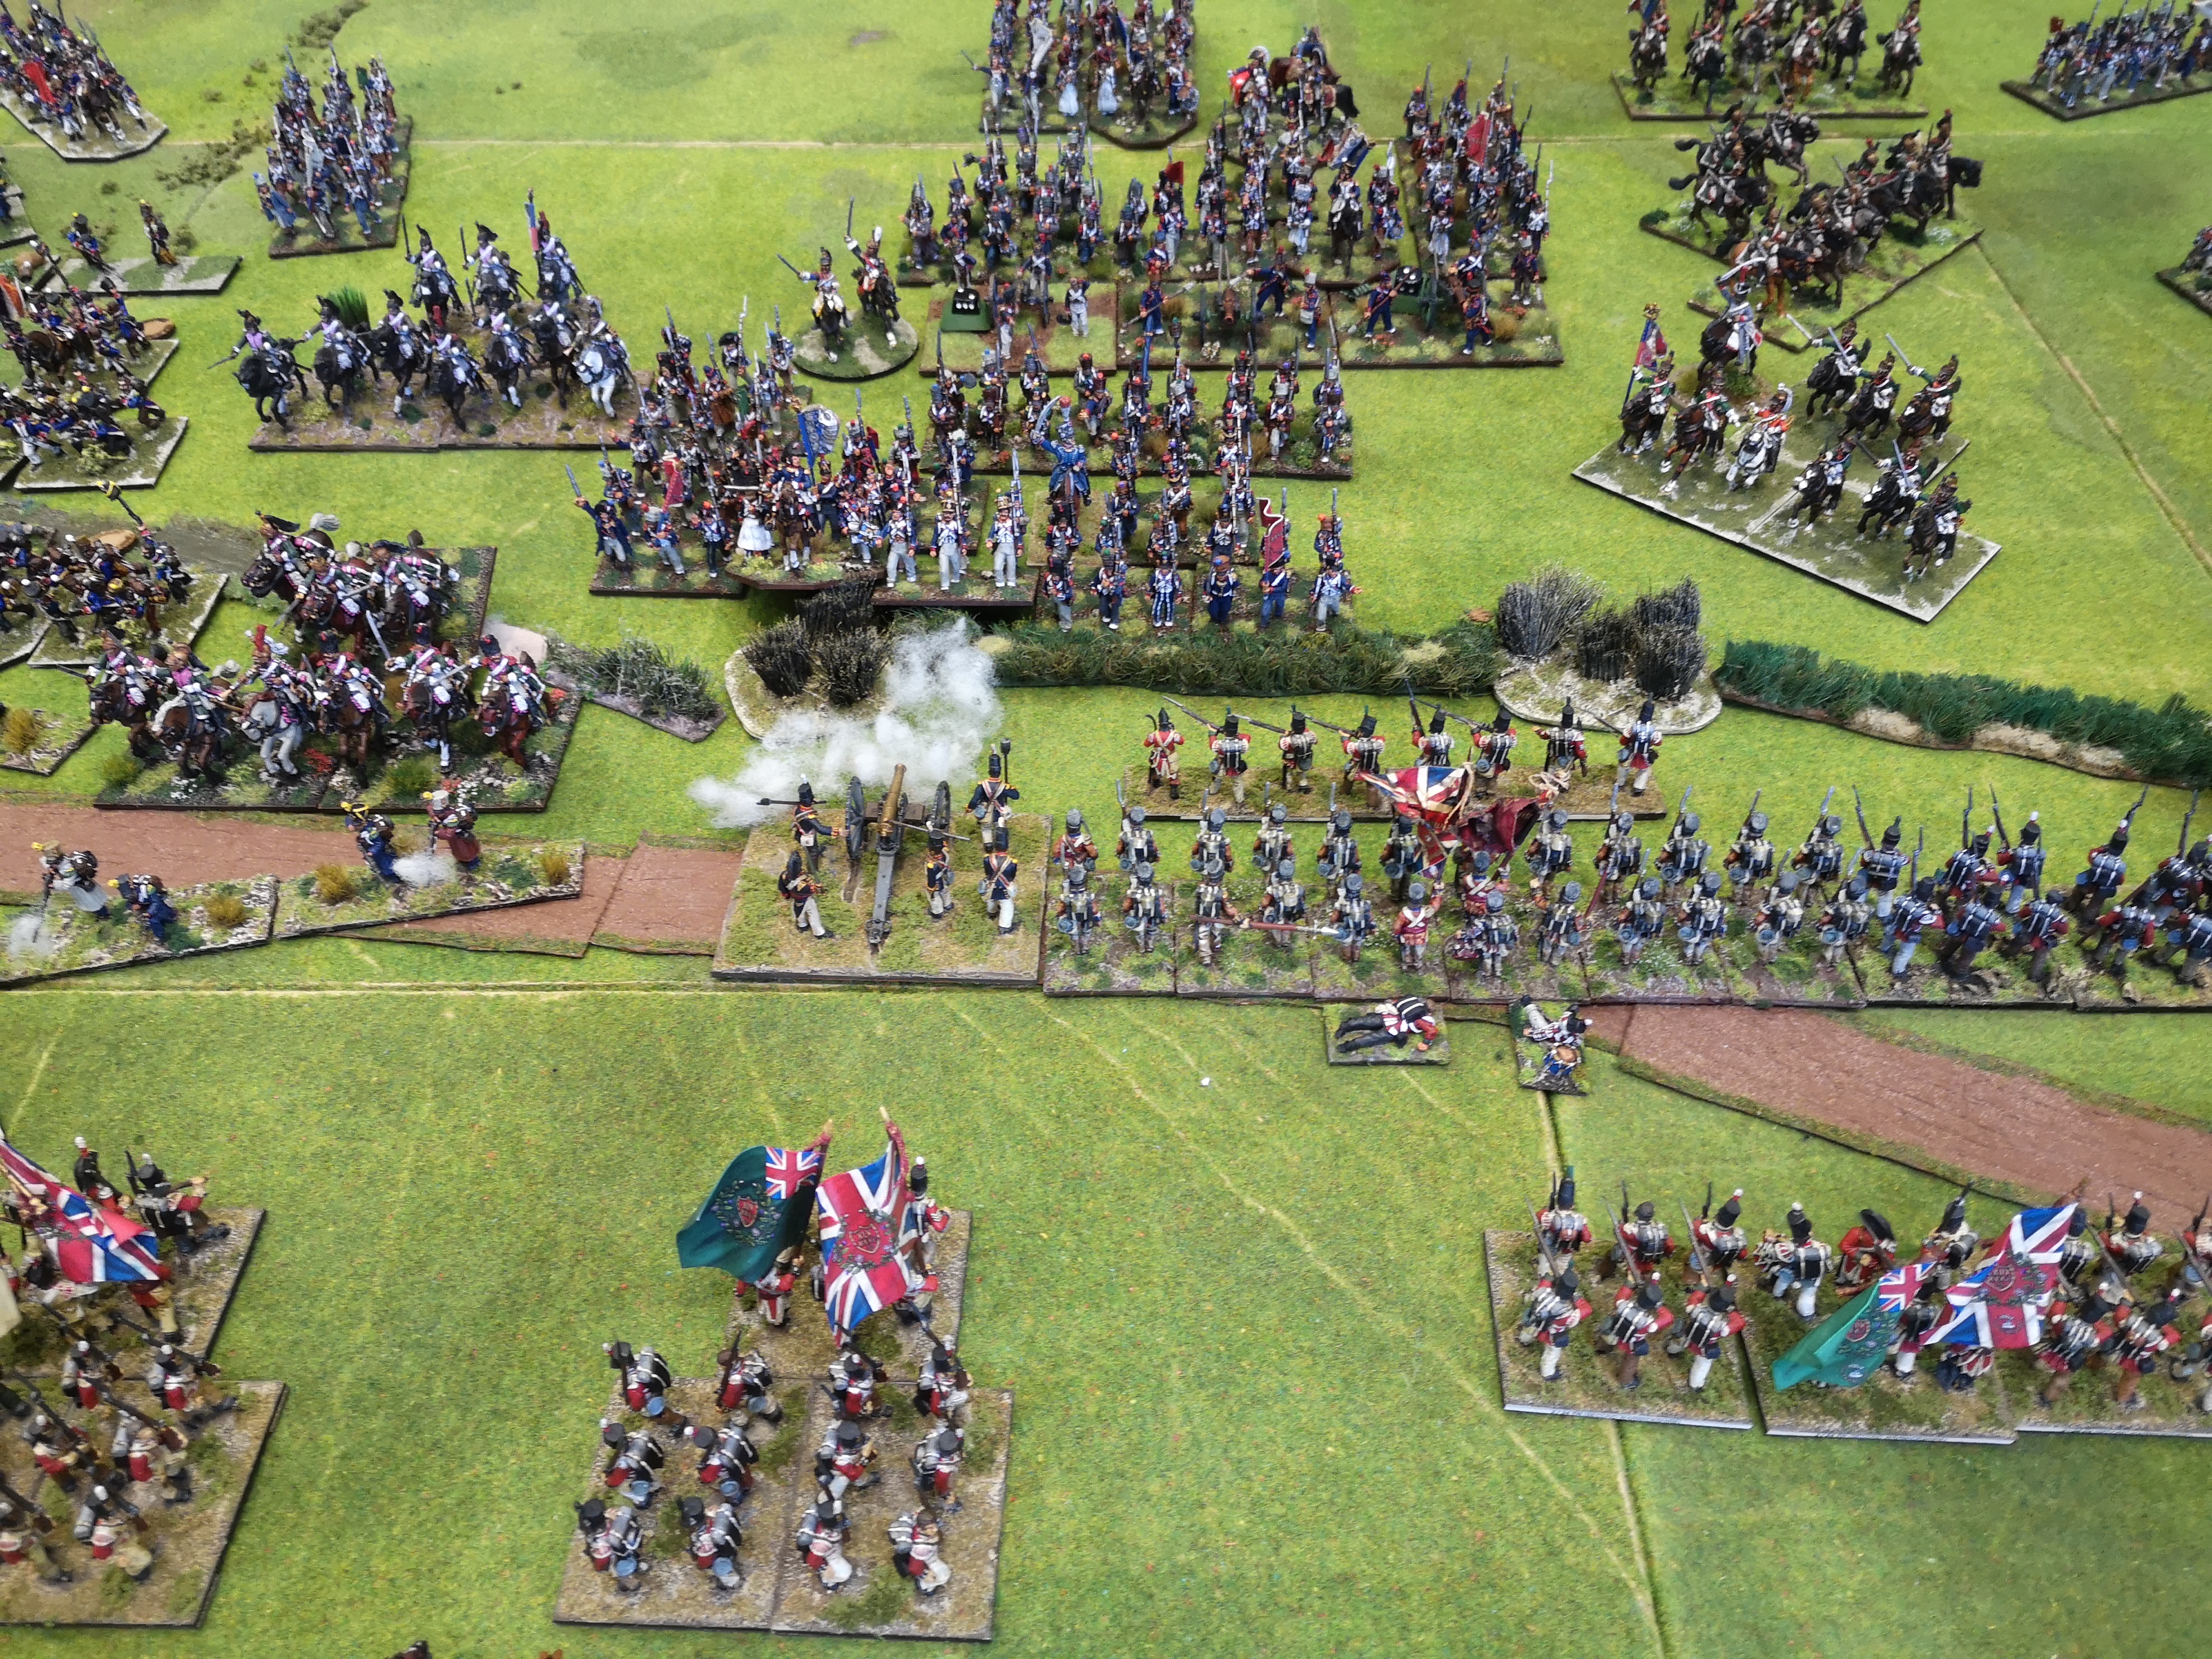
 |
| Now about standing up in time! Hole to KGL's brigade right. |
 |
| French dragoons exploit the hole in the centre of 1st Division |
 |
| British centre collapses as french punch through. |
So how did the game go? not too well for the British. The centre brigade of 1st Division failed to stand up from prone in time, despite warnings, and were run down by French dragoons while the Guards brigade to their right suffered from attacks from multiple French columns and supporting artillery.
To the south after some staunch defending the Spanish were forced from the wall line by Leval's division, the French having ignored the Pajar redoubt.
In the north Bassecourt's Spanish held, repelling several assaults from Ruffin's division, while in the valley the British and Spanish cavalry got the better of their French adversaries and even destroyed some artillery.
But with the British centre gone Wellesley would have had no option but to withdraw so we called the game at this point as a french victory and prime example of combined arms usage.
A great game enjoyed by all in attendance but perhaps I should have picked something smaller for my first time umpiring these rules? na :)
For loads more photographs and a full AAR see the clubs Facebook album
PDFs of the OOBs, Scenario rules and layout can be found from the link in the sidebar.
Tony.